How to make a simple car paint material in blender
Hello Everyone Welcome To VFX World
This is my first post so
Today We Are Going to See. How To Make A Simple Car Paint Material in Blender.
So Without Wasting time. Lets Gets Started.!
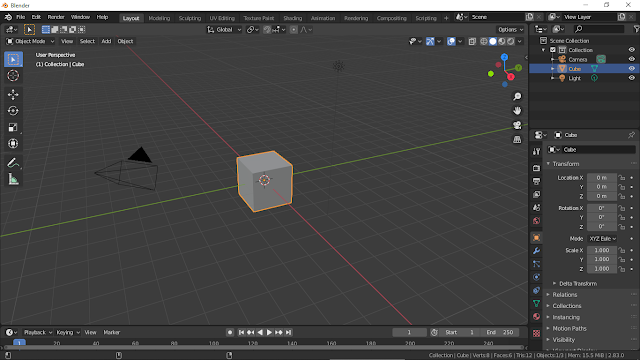
First up when you open the Blender you will get this default scene.
Select everything by pressing "A" and delete everything by pressing "X"
Then just add a UV sphere to preview the material better.

Select the UV sphere and shade smooth (You can get this option in object tab. Right up to the top of view port)

Then Split the view port to get into shader editor.

Then Add a New material to the Sphere by pressing New button on top of the view port
As its default you will a principal BSDF. Like This

Then add a texture Coordinate node by pressing Shift+A then "Input" then "Texture coordinate" {or} by searching you can get this node and upcoming following nodes also. Once you add the Texture coordinate and then add a Voronoi texture to make a little bit various in surface glossiness.
Then connect the object Output from texture coordinate to voronai texture vector input. Like this

Then take the scale value all the way up to 150. Because we want really small details. The higher the value smaller the texture would be and the lower the value larger the texture would be. Hopefully make sense. Then add the color ramp to control the how much roughness we want it to be. Take the distance output from voronoi texture and connect to color ramp. Then take the 1 color stop set it a gray and increase little bit then take another color stop and slide it to 0.641 Like This

Then connect the color output from color ramp to Roughness in Principal BSDF. Then little Bit for Uneven surface lets add a bump node. Then take the color Output From color ramp connect to Bump Height and set the Strength to 0.050 then take the normal output connect to normal input to principal BSDF. Like this.

Now lets come to most interesting part that is base color. this will determine the our material how its gonna looks like. So instant of adding a just single color i would i like to add a two colors to add more visual interest. So let me show you how can i make that. First i added a color ramp then i taken one color stop and set Dark Blue and for another one bit light blue. Then for mixing these together i added a Fresnel node and i changed the IOR to 1.333 which is water IOR value. Then i connected the Fac output from Fresnel to color ramp Fac input. And i connected to Base color in Principal BSDF, set value of metal is 1 and clear coat to be 1.
And finally this is my node setup

This is Render Result.

Thank you for reading. Hopefully this helps you.!

Awesome 👌
ReplyDelete